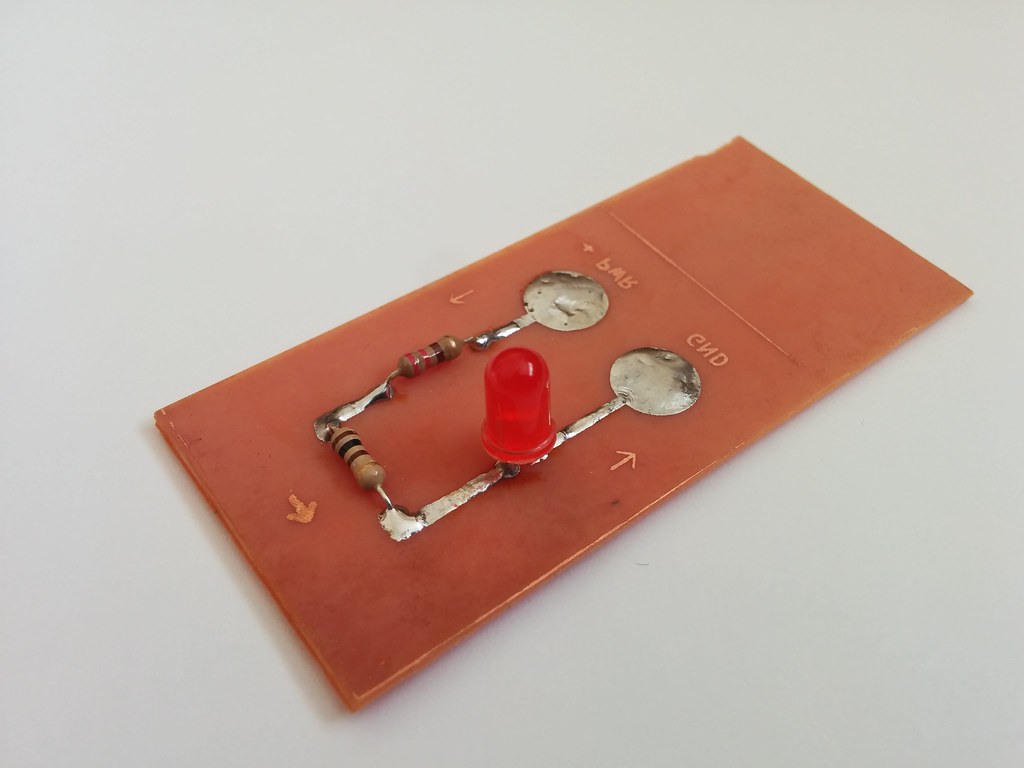
Just a simple “led and resistor” circuit to test the end-to-end process of making a circuit board.
Unfortunately, I forgot to flip the image before printing, and only noticed after the board was already etched.

Just a simple “led and resistor” circuit to test the end-to-end process of making a circuit board.
Unfortunately, I forgot to flip the image before printing, and only noticed after the board was already etched.
I wanted to learn how to etch PCBs at home. (Read as too cheap to pay someone else to do it). I was pleasantly surprised by the results.
- Board prep -
I lightly sanded the copper layer with 800 grit sandpaper (it was the finest grit I had on hand) to remove the oxide layer. I then rinsed it with water and wiped with isopropyl alcohol.
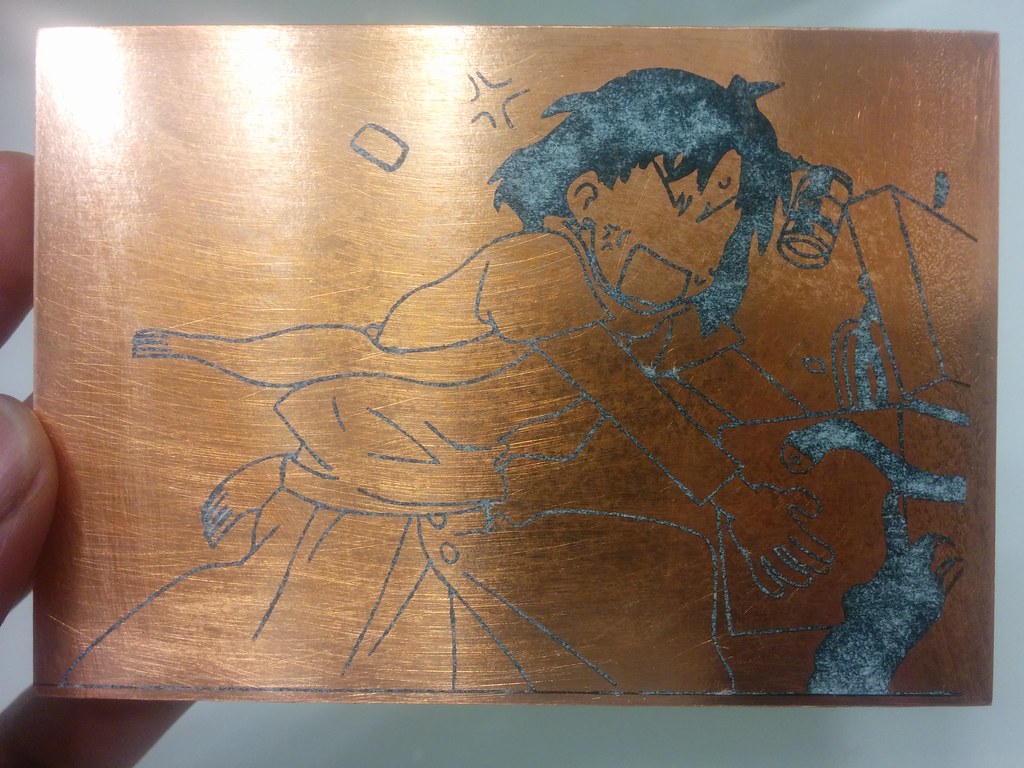
- Transfer -
I used the “printer toner and iron” method to transfer the design onto the copper. (Why - cheap). Steps:
When it seemed like the toner had transfered, I soaked the board in water then gently peeled off the magazine. See this video for an example.
The design:

The toner transfer:
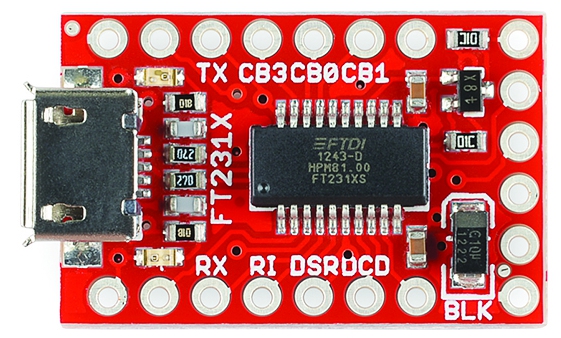
I was going through a SparkFun tutorial on reading schematics, when I decided to use it as an opportunity to learn a thing or two about PCB layout.
My candidate circuit was that of the FT231x breakout board mentioned in the article. SparkFun releases all of its products as Open Source Hardware, so the relevant schematics were provided on the product page.