Below are instructions on how to simulate the VHDL implementation of Ben Eater’s computer. They also double as a general introduction to ModelSim.
Running the simulation
1) Get ModelSim. It’s free software.
2) Download the VHDL code from Github.
3) Open ModelSim, and create a new project.
- Select File from the menu bar
- Then select New
- Then select Project
4) Give the project a name and choose where you want to save it.
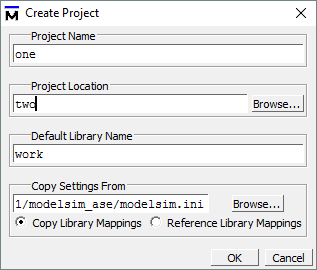
- Give it a name via the Project Name textbox
- And a save location via the Project Location textbox
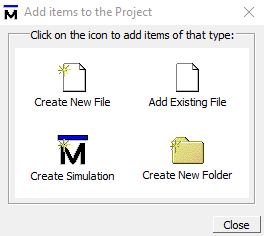
5) This window will pop up. We will be adding the files downloaded from the Github repository so select Add Existing File.
6) This window will pop up.
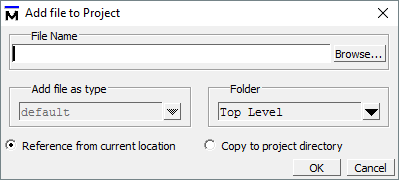
- Click Browse
- Browse to the location of the downloaded code
- Then browse to the folder Code/Computer/ and select all the files in there
- Protip - Hold the
SHIFTkey to select multiple files at once
- Protip - Hold the
- After selecting the files, click OK to add them to the project
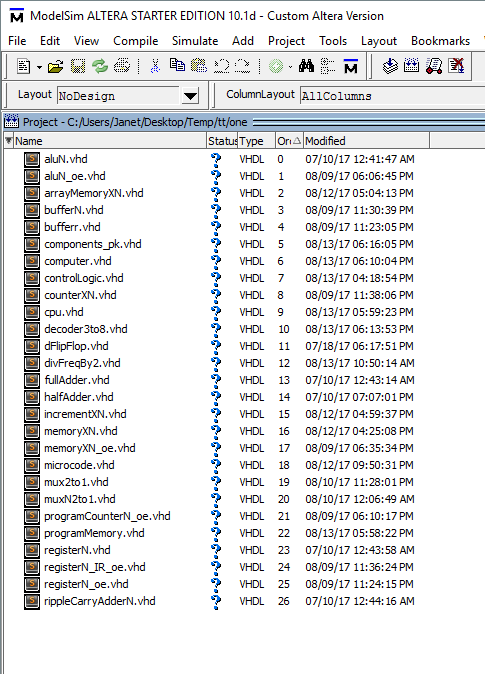
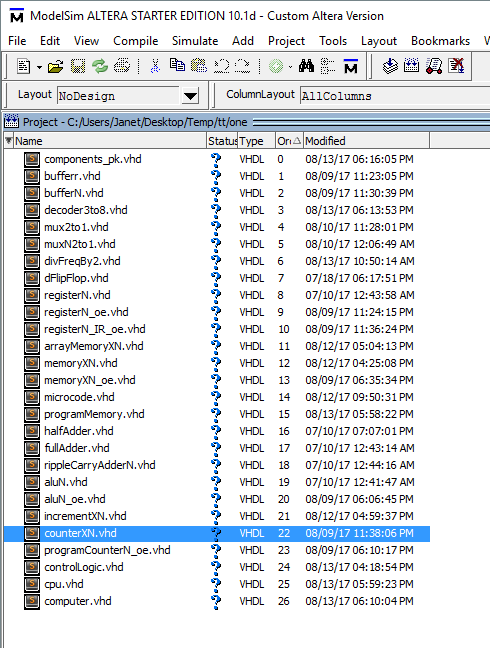
7) The project window should now look something like this. The blue question marks indicate that the files are ‘uncompiled.’
8) While making this tutorial, I forgot to add the computer_tb.vhd file. (I eventually realize this and add it later on). You should add it now. The file contains the code we will use to setup the simulation.
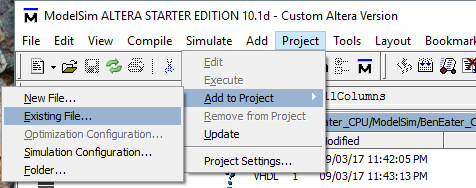
- Select Project from the menu bar
- Then select Add to Project
- Then select Existing File
- This will give you the same window as seen on step 6.
- Browse to the folder Code/Tests/ and select the file computer_tb.vhd
- Click OK to add it to the project
9) Before we can compile the project, we need to change the compile order.
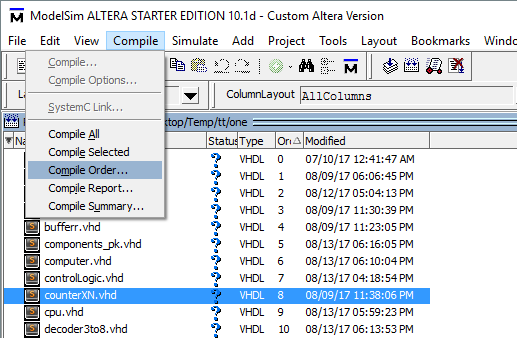
- Select Compile from the menu bar
- Then select Compile Order
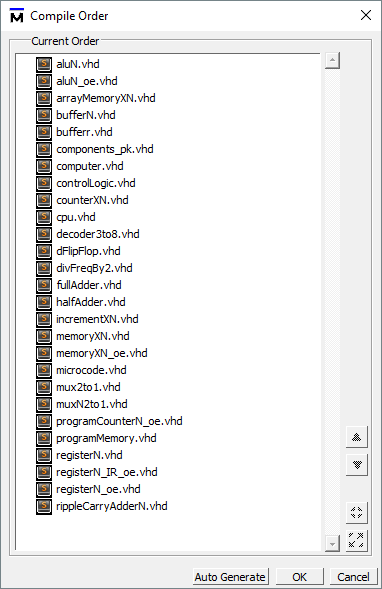
10) This window will pop up. Use it to change the compile order. Press OK when done.
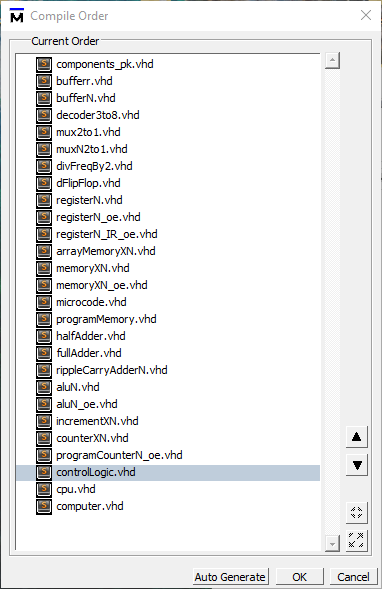
11) The order should be changed to the order in the image below. The compilation order is based on dependency. Though not in the screenshot computer_tb should be the last one (as it depends on everything else).
12) The project page should now look like this,
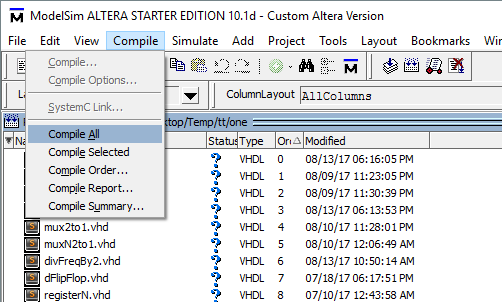
13) Time to compile!
- Select Compile from the menu bar
- Then select Compile All
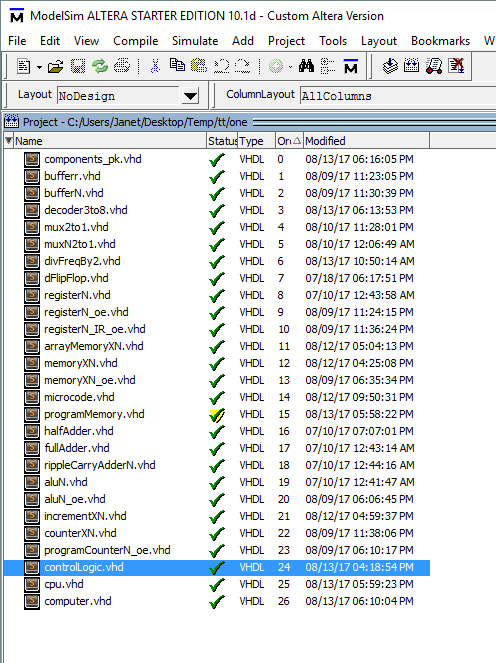
14) The blue question marks should now be replaced by green arrows, indicating successful compilation
15) We are now ready to start the simulation.
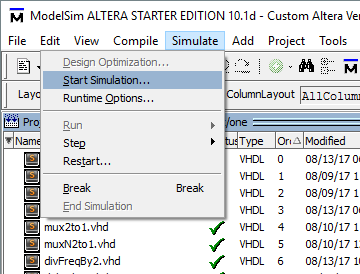
- Select Simulate from the menu bar
- Then select Start Simulation
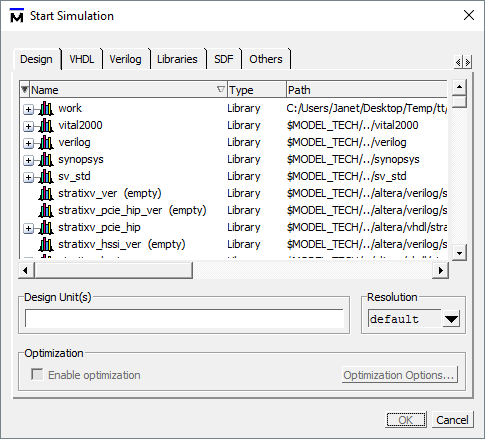
16) This window will pop up. Click on the + sign beside work to expand it.
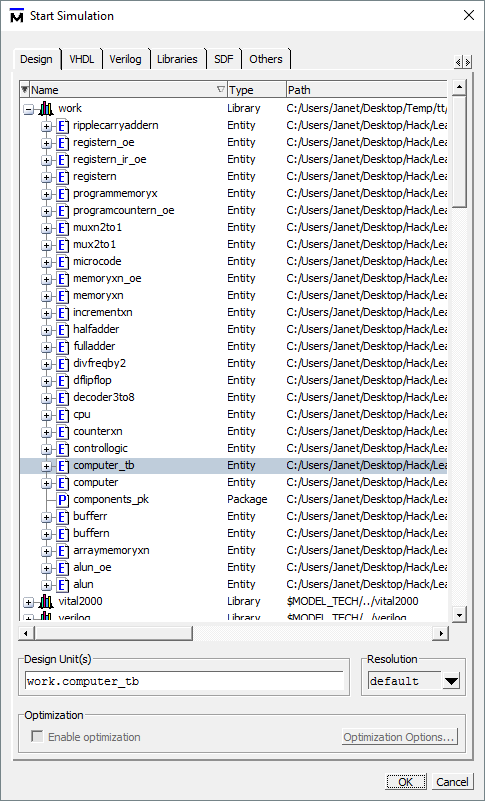
14) We will be simulating computer_tb. Select it and click OK.
15) A waveform window that looks like this should pop up,
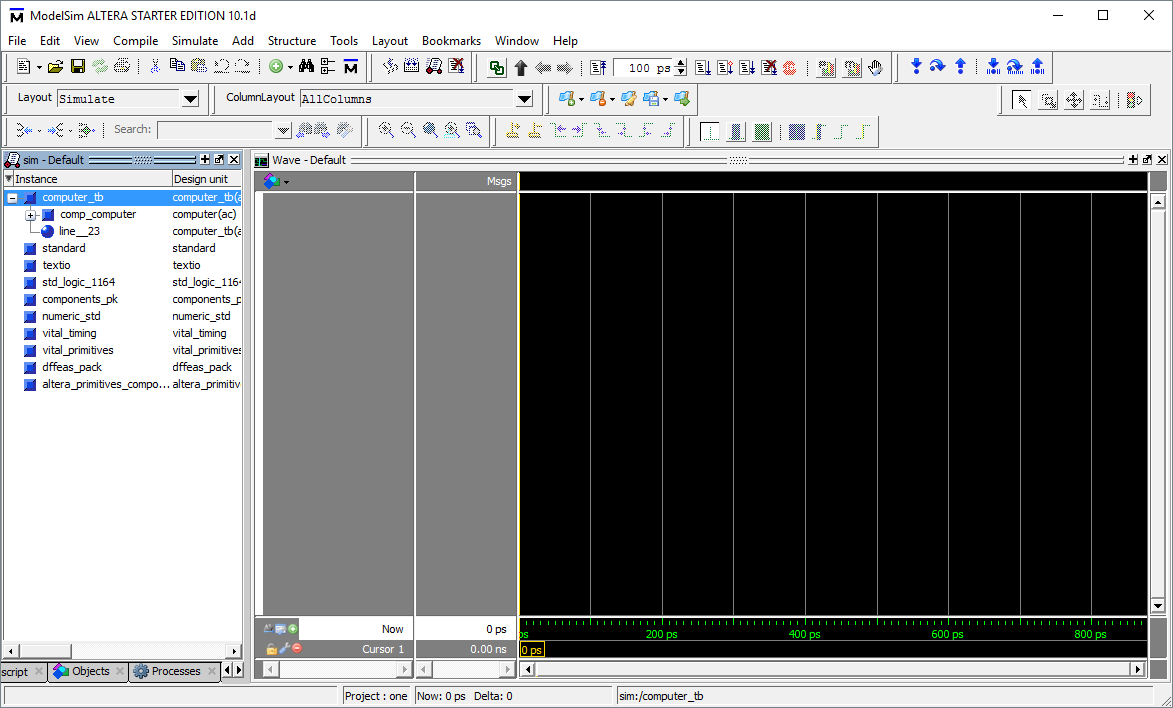
16) If you were to run the simulation as is, it would seem nothing has happened. This is because we need to indicate which signals we want to observe.
You can manually add the signals that interest you. Checkout Youtube tutorials for how to do this.
I’ve saved the ‘wavefile’ I used in my simulations. It includes the signals I chose to observe, and the colors and data types (for example hexadecimal, unsigned, or ASCII ) I assigned to them.
17) To use it,

- Click File from the menu bar
- Click Load
- click Macro File
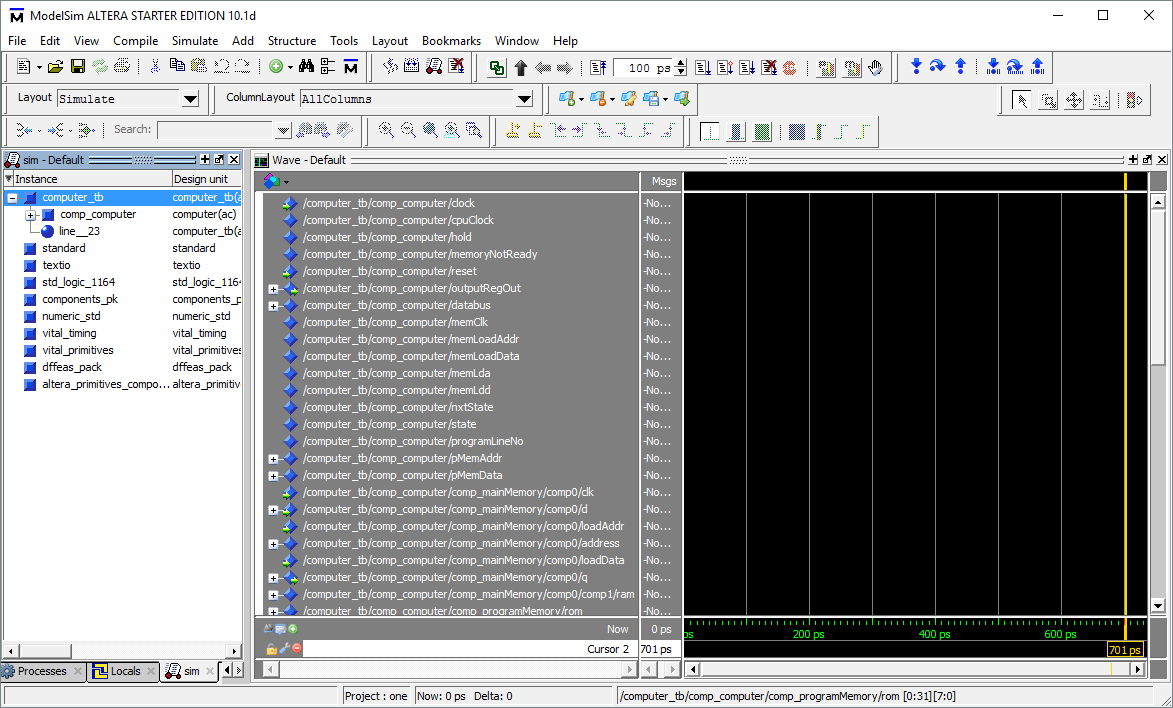
18) The waveform window should now look like this,
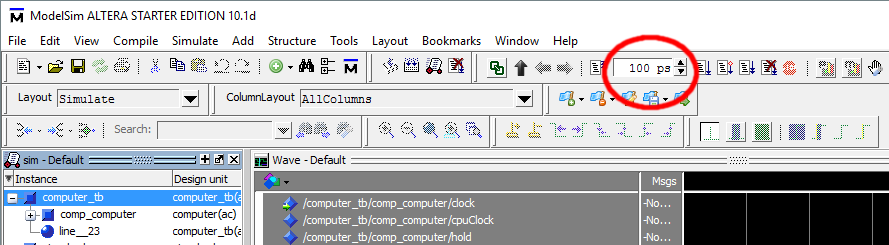
19) Next we need to specify how long we want to run the simulation. 700ps (picoseconds) is enough to show something interesting. You can use less or more time.
The clock used in the simulation is set to have a period of 2ps (see computer_tb.vhd). Therefore one clock cycle is equivalent to 2ps. You can use this ratio if you want to simulate a certain number of clock cycles.
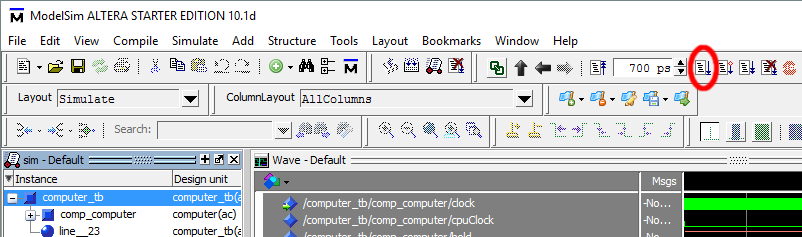
20) Run the simulation! To do so, click the Run icon.
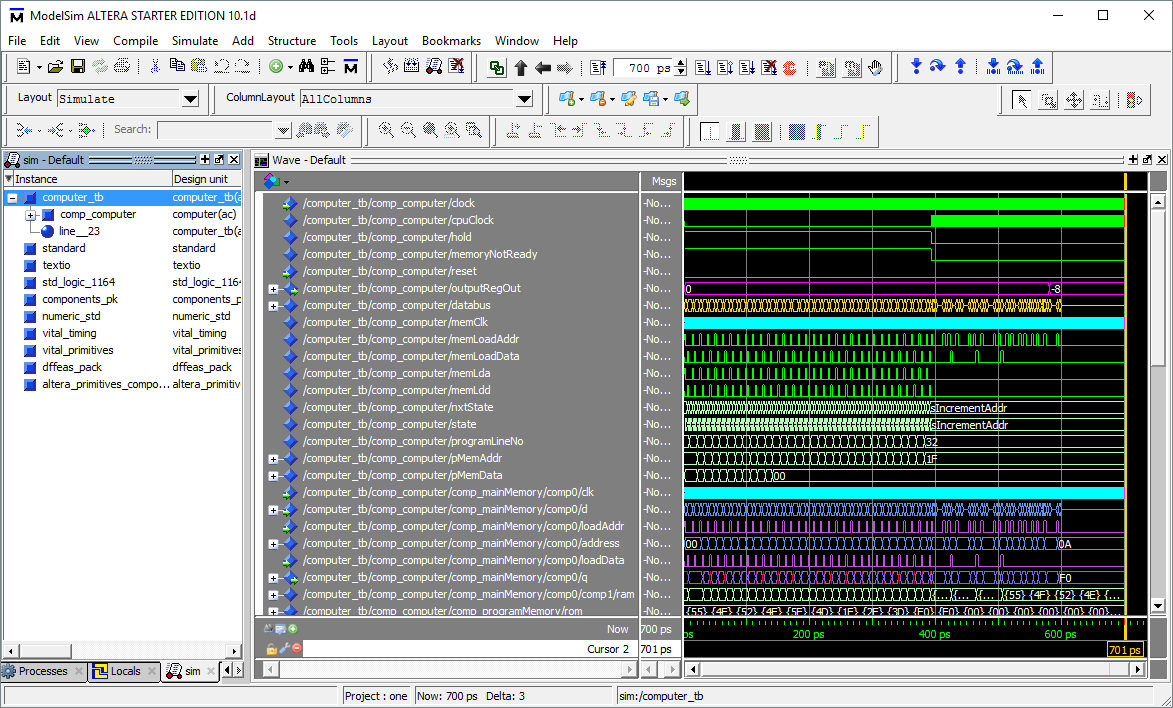
19) And it should look something like this. Congratulations!
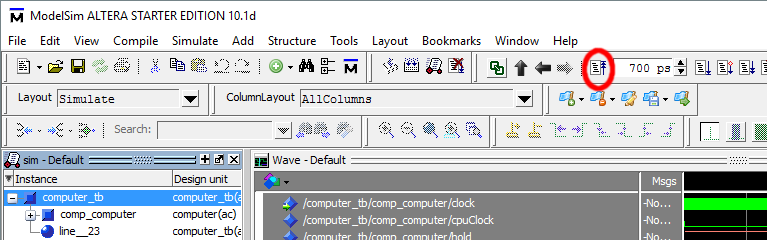
20) If you want to restart the simulation, click the Restart icon to the left.
Changing the simulated assembly program
To change the program that the Ben Eater computer computes, open the file Code/Computer/programMemoryXN.vhd with your favourite text editor (I recommend Sublime Text).
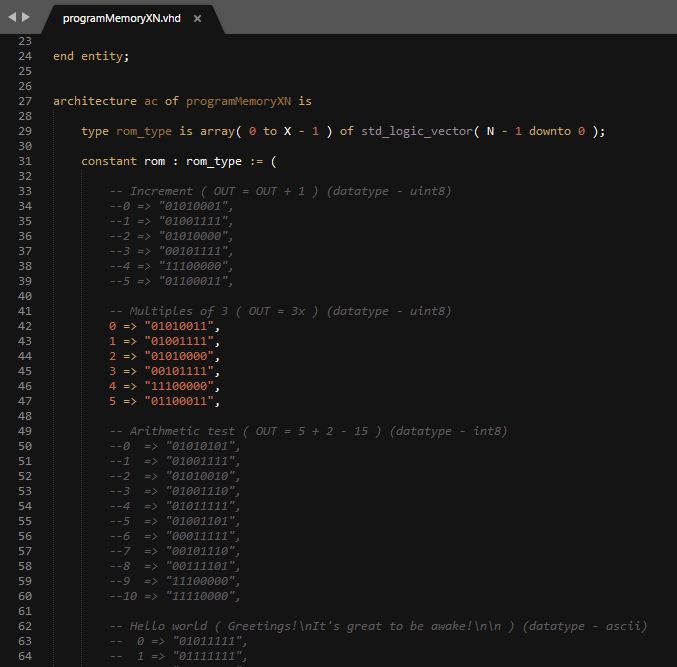
In there you can see the currently running program, and others that are commented out. Uncomment the binary code you wish to run, and comment out the others.
You can also run your own code by pasting it here.*
The blue question mark should now appear beside the programMemoryXN.vhd file in the Project window. This is because the compiled version is no longer up to date. Compile the file by right clicking on it, then selecting Compile, then selecting Compile Selected.
Restart the simulation. It will now use the updated code.
Note, when running the ‘Hello world’ program, you might want to change the data type of the outputRegister signal to ASCII. This way the integers are rendered as their ASCII equivalent and not as numbers. To do so, right click on the outputRegister signal, then select Radix, then select ASCII.
*I have included an assembler that you can use to convert your assembly code into binary if you find the pencil and paper approach tedious. It can be found at Programs/assembler.py
If you have Python installed, you can use it as follows:
- Change the source and destination files on the last line accordingly,
asm_to_bin( 'pathToYourCode/yourCode.asm', 'pathToSaveLocation/yourCode.bin' ) - Then open a command line (Windows) or terminal (Mac and Ubuntu)
- And type,
python assembler.py
Running on an FPGA
If you want to run the computer on an FPGA, here’s what to do.
If you have access to an Altera FPGA, here’s a video on how to configure it with the VHDL code. Similar tutorials can be found for other FPGA vendors (but the overall process should be roughly similar).
You will also need the files in the following folders. They contain the UART code.
- Code/UART/
- Code/Synthesis/