After what feels like years, the screen finally arrived!
I ordered the screen and frame assembly. Though it costs more and you loose the OEM frame, installation is much easier. Rather than trying to peel off the cracked screen and glue in a new one, you can “just” swap components from the old frame to the new one.
The quality of the assembly is great for a replacement and the price I paid. The flex cable looked a bit worn… maybe the screen was a salvage? The frame is of a lower quality than the OEM frame, but this is to be expected.
Tools useful for this repair:
- spudger (essential for removing the back cover and battery)
- heat gun (or blowdrier) for softening adhesives
- 300LSE double sided tape (not critical but nice to have)
In the image below, I am testing that the screen works before moving components from the old frame to the new one:
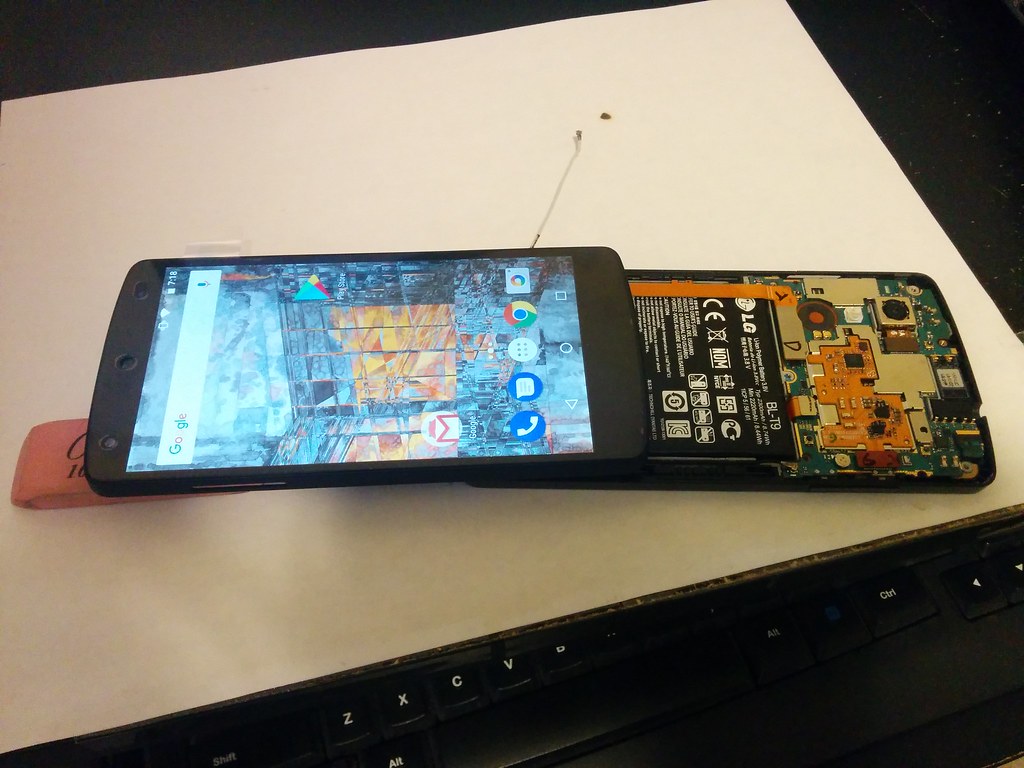
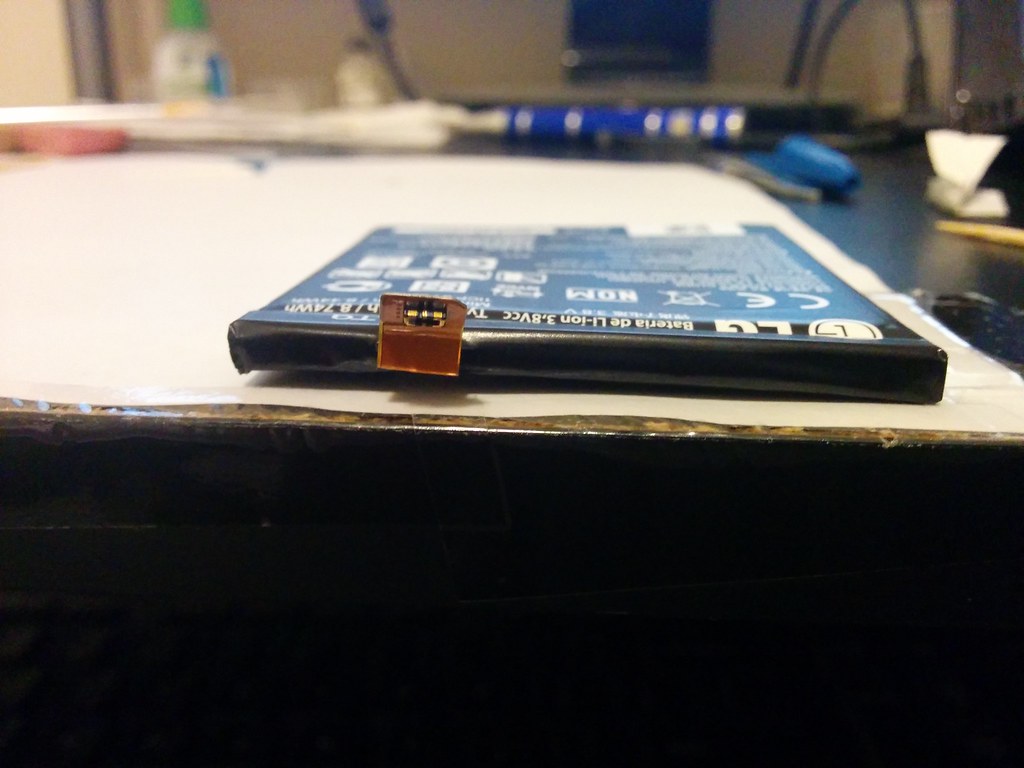
Show me someone who claims to have opened a Nexus 5 back cover on their first try without breaking a tab and I will show you a liar! Unfortunately, I broke too many tabs on my old back cover for it to be reusable (RIP) and had to order a new one. Perhaps things would have been different if I had used a spudger. My battery seems to think so, as I noticeably bent it when prying it from the glue holding it in place with a flathead screwdriver. Fingers are crossed that the damage is only cosmetic.
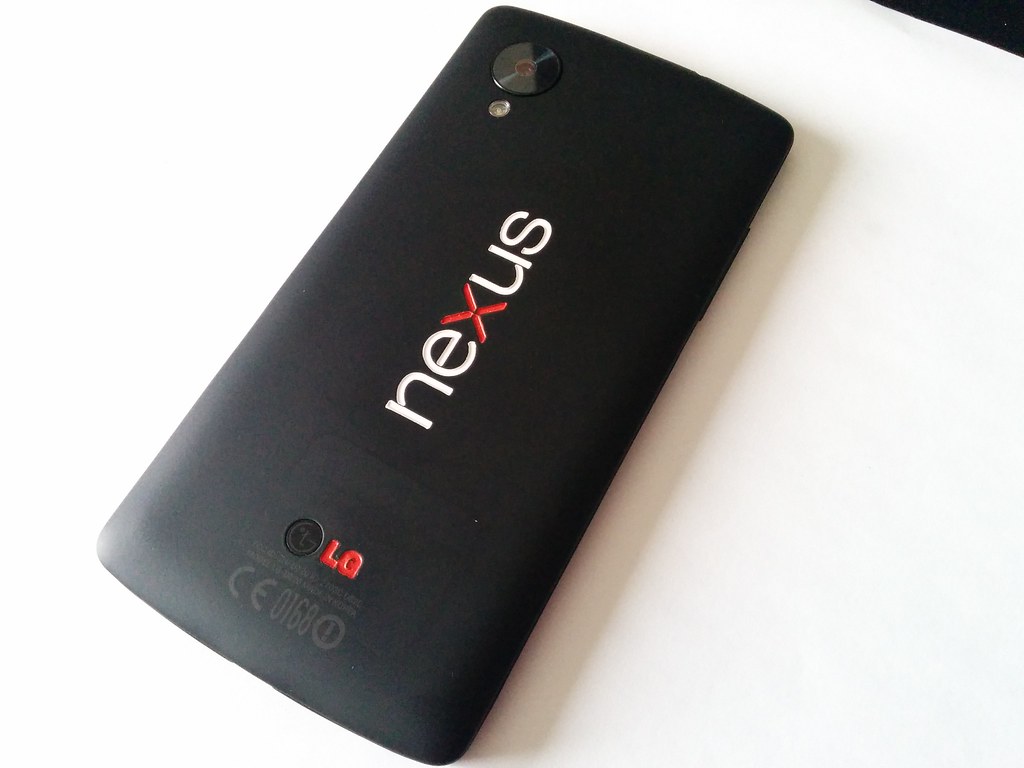
Here is the final product, a new display and case. I gave the rear case a paint job to commemorate the affair.
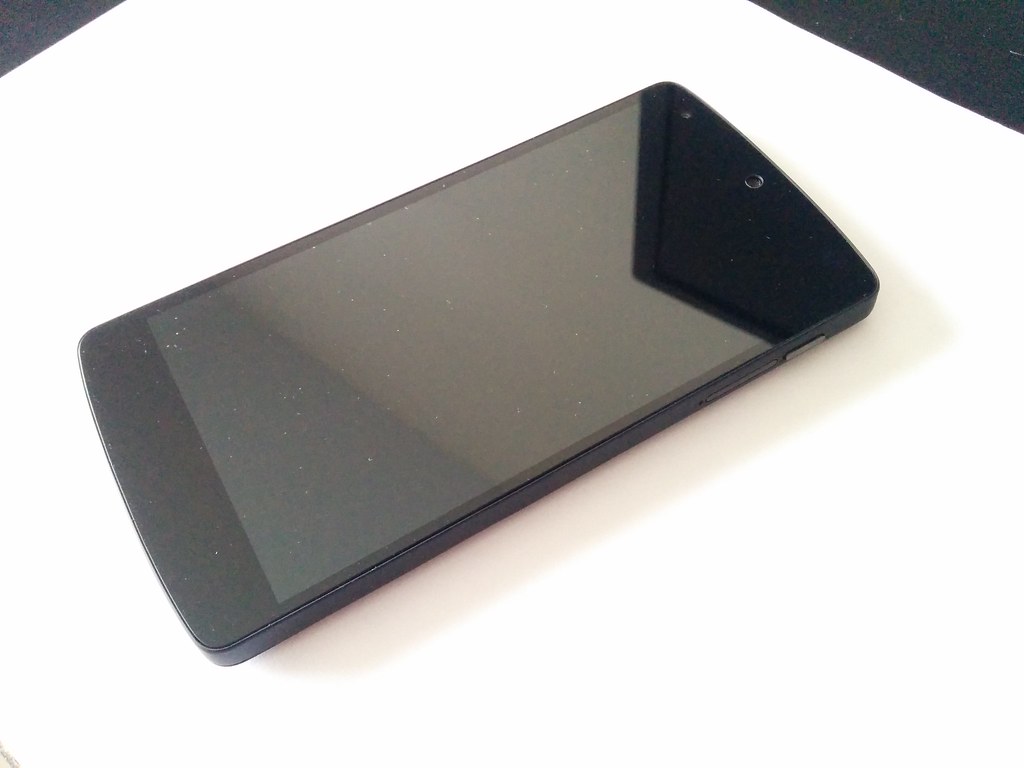
As for the quality of the replacement screen and touchscreen, time will tell.